Last update at :2024-02-15,Edit by888u
Vultr is currently also a hosting merchant used by many users in mainland China. The merchant has many advantages, including hourly fees, IP deletion and replacement at any time, multi-national computer rooms, KVM virtual architecture, and many activities. Recharge $5 to get $5 free. Recharge 5 US dollars to get 50 US dollars, and complete tasks to get 3 US dollars. If it is only for temporary use, it is enough. Many friends also use it to build websites. Because Vultr provides an SSD solid state drive, the running speed is still relatively fast, but At present, due to some reasons, some users' IPs may have been blocked. So if your website is still on the blocked IP, what if it can be replaced without loss? Generally, we need to back up our website, open a new VPS, install the same environment, and then upload the backup to the new VPS. This is a waste of time for some users with large amounts of data. What I will introduce to you today is to use the one provided by the merchant. Use the snapshot tool (Snapshots) to perform backup and restore. I will show you a graphic tutorial below.
Vultr recharge activity
- Vultr’s latest offer in 2019: Recharge 5 yuan and get 50 US dollars [valid for 30 days]
- Vultr: New high-frequency cloud server, 1G memory, 32G SSD, monthly payment of $6, comes with $61 tutorial and discount code
Snapshot tutorial
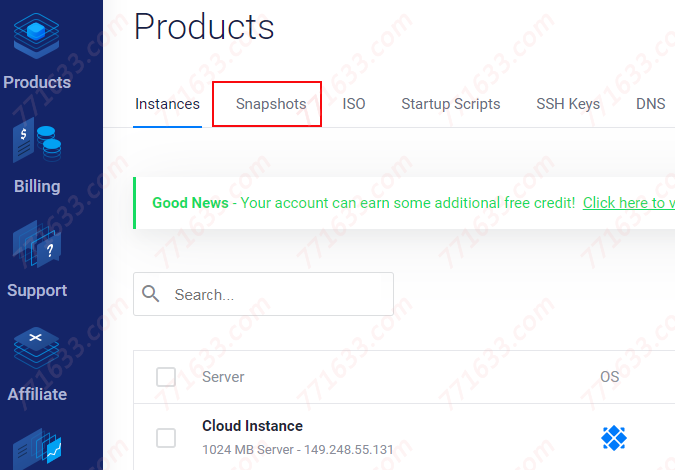
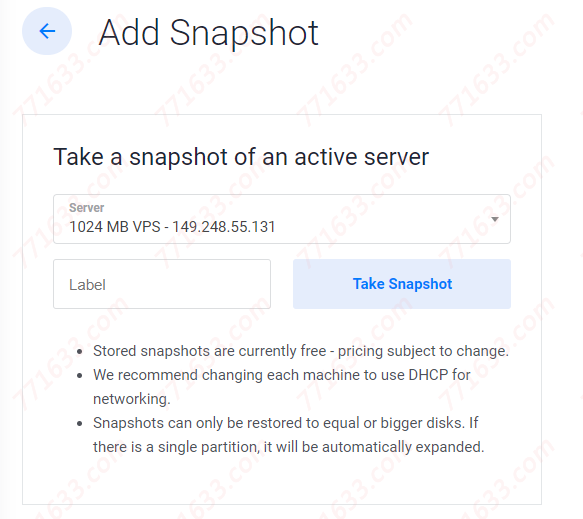
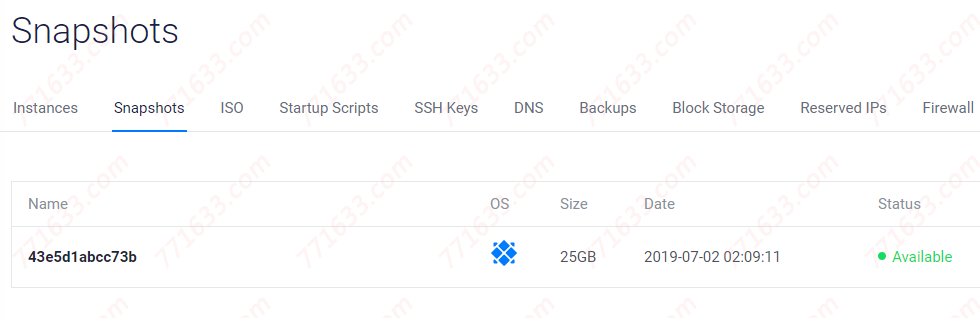
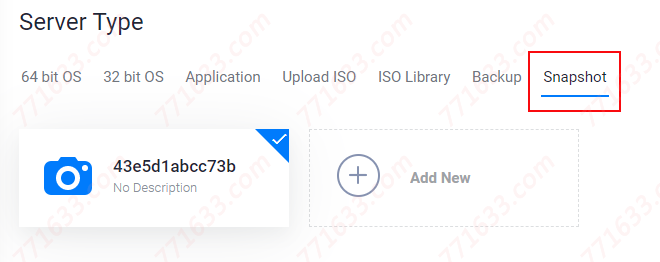
First of all, we need to use Snapshots for backup. It is recommended that you also perform backup while using Snapshots. Users of Pagoda are recommended to automatically back up to Tencent Cloud COS object storage space, which is free to use. Open the vultr login user and click Snapshots. After clicking Add Snapshot on the upper right, select the VPS you want to back up. The backup time depends on the size of the data. After the backup is completed, click Snapshots to display the data you have backed up in the list below. The following is the restoration. Please note that the configuration of the new VPS needs to be greater than or equal to the original VPS, and cannot be less than the original VPS, otherwise an error will occur. We still create a new VPS, click Snapshots directly when selecting the system, and select the backup you just created. file, and then select the basic configuration to complete the creation. The follow-up work we need to do is to resolve your domain name to a new IP address. If the new IP does not work, you can directly follow the above steps to create a new VPS and restore it, directly open a usable IP, and then delete all the unusable ones. . Okay, that’s it for the tutorial, friends in need can give it a try.
Recommended site search: free asp space, free website space, Korean cn2 server, overseas server, registered domain name rental, US server defense, virtual host 0 yuan purchase, free domain name registration platform, Taiwan server rental, website registration time, < /p>


发表评论